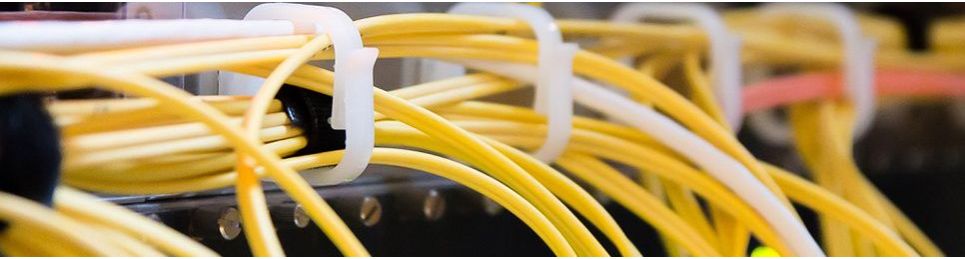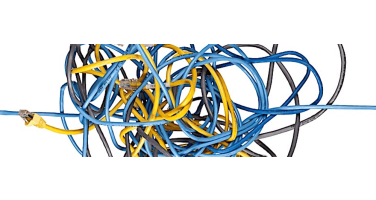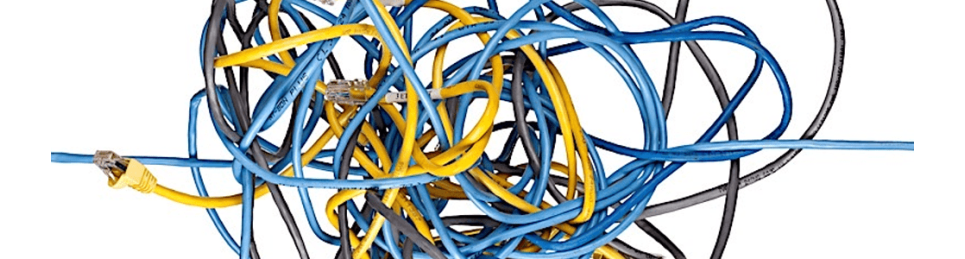
Almost every building, new or old, contains cabling of some sort and in the computer age, this has only grown. And the growth in cabling, inevitably, leads to a bigger chance of mess and potential hazards and therefore the need to manage the chaos somehow.
Why is cable management important?
Cable management is essential for maintaining organisation, safety, and efficiency in the workplace, whether it's an office, data centre, or public area.
Not only can poor cable management lead to trips and falls, it can also affect the ability for a workspace to function properly and even effect a very real threat to an organisation’s long term survival.
How to have better cable management
Albert Einstein was quoted as saying "If a cluttered desk is a sign of a cluttered mind, of what, then, is an empty desk a sign?”. Well in the world of cable management it’s a sign of efficiency……… and a cracking cable management process!
Developing a cable management system is key to creating a safe, productive and future-proof workplace. It involves a step-by-step approach, bringing in the views of those who use the space and are most likely to be affected by it.
Given the importance of a well-executed cable management project, it’s a great idea to plan it out in detail to minimise the chances of mistakes.
So, following on from our handy cable management advice guides, we’ve put together an 8 step plan to help you along.
1. Define your goals
- Is it improved safety, aesthetics, scalability, or system performance? Chances are it’s all three.
- Identify the current issues: tangled cables, tripping hazards, airflow restriction, etc.
- Evaluate the growth potential of the setup to ensure future-proofing. What could your office look like in 5 year’s time with staff increases, changes in tech etc?
2. Equipment inventory
- Put together a list of all the equipment and devices that will be part of the setup (handy downloadable template here).
- Document the type and quantity of cables required for each device.
- Don’t forget to note down the power and data connectivity requirements.
3. Survey the area
- Check out the actual physical space, the location of plug sockets, network ports, and other connection points.
- Measure the available space and any constraints there may be.
- Identify potential pathways for the cables, such as under the floor, overhead, or along walls.
4. The fun bit! Design your solution
- Browse through suitable cable management products: conduits, racks, cable ties, labels, etc.
- Confirm where the cables will go
- Make sure you bear in mind future scenarios – redundant equipment and possible emergency situations.
5. Budgeting and purchasing
- Estimate costs for the required materials, the labour needed to put it all together, not forgetting any specialised help you may need.
- Project managers always expect the unexpected. Consider setting aside a contingency fund for unforeseen costs.
- Make sure you buy from a trusted supplier that can not only provide all the required cable management products, but that can offer a wide range of options and customisation possibilities.
- Ensure all products comply with UK standards and regulations.
6. Get to work!
- Clear the space you will be working in. Remember, you may need to shut down systems temporarily, so plan ahead for this.
- Lay down the key cable pathways first (e.g. trays or conduits).
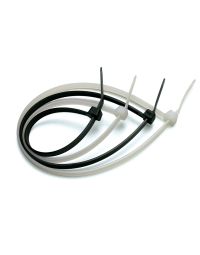
- Route cables, referring to the design you created in step 4. Be careful not to over-tighten cable ties, as this can damage the cables. For an easier life, try releasable cable ties.
- Regularly label cables at both ends, especially if you’re putting a long run of them together.Test all the connections to check they are working correctly.
7. Don’t forget to document it all
- Once they’re down, create a detailed map or, to be super-pro, schematic of the cable routes.
- List all of the devices and each item’s connections.
- Keep the document updated when any changes are made going forward eg new equipment, old equipment thrown out
8. Review your work and schedule maintenance
- Schedule regular checks to ensure that your cabling handiwork remains organised and fully operational.
- Regularly inspect for any potential hazards, such as exposed wires or overloaded power strips.
- Keep on top of point 7, update the system and documentation accordingly.
Remember, this is just a general guide to help you put your plan in place and specify the cable management project. Hopefully, points 1,2 and 3 will help you identify any adjustments and deviations you may need to make.
Above all though, always prioritise safety and ensure al the work carried out and equipment used complies with regulations and industry standards.
Cabling in temporary installations
All the above is relevant if you’re planning to set up a temporary installation eg a trade show booth, outdoor event, temporary office, or performance stage. However, there are a few additional things to consider.
In some cases, it’s like starting with a blank canvas, so map out where each piece of equipment will be placed and try to centralise power sources to minimise the spread of cables across the area.
Cabling accessories for temporary set ups
- Cable ties are still a first choice for bundling cables together in temporary set ups but opt for reusable ties like Velcro straps. Speeds up unbundling too.
- Cable Covers are also needed as you may not be able to bury cables in a booth or on a stage etc and cables running freely on the ground can cause tripping hazards. Not great if the lead singer of the band wants to stay looking cool!
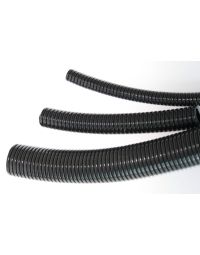
- Cable tubes or sleeving can encase multiple cables, streamlining them into a single bundle and protecting them from external damage, such as from the British summer!
- If you’re taping wires down, gaffer tape is probably a better choice than duct tape as it leaves no residue. Spot on for securing cables to the floor temporarily.
- Make sure you limit ‘daisy chaining’. Connecting multiple power strips or extension cords in a series can be a fire hazard.
- If possible, use cables that match the colour of the floor or wall, making them less noticeable. You can also use curtains or other decorative elements to conceal cables when aesthetics are a priority.
Taking it all down again
When you’ve finished with the installation, it’s time to pull it apart and store everything for next time. Here’s a few tips to make life easier.
- Label both ends of each cable, especially if they're identical. This speeds up both the setup and the teardown processes.
- When dismantling, coil cables properly without kinking them, and store them in labelled bags or containers. As well as helping you get set up quickly next time, it prolongs the lifespan of your cables.
- Finally, put together a checklist to ensure no equipment or cables are left behind.
Although temporary installations might be short-lived, good cable management practices can ensure the safety of all attendees or participants, prolong the life of your equipment, and create a polished, professional appearance.